

Now, I promised some special friends I'd have a go at doing a tutorial for these cute little baskets I'm making as frugal Christmas presents - all I have to do now is come up with some natty things to put in them.
Anyway, apologies if it doesn't all quite makes sense - please pass it along and if you make one come back and let me know how you got on - with a link to a pic, please!
 |
| First, I have a sheet of card. It's one of those corrugated jobs out of a craft pack. White is good, but I didn't have any left! So I've drawn a 15cm square, and then four 5cm strips alongside. |
 |
| This is what they look like, cut out. |
 |
| Now this is some fabric salvaged from an old (very, very old) summer dress. You might have something that's an easier shape. Its folded double, with the right sides together. |
 |
| Put the card on the wrong side of the fabric. Using a ruler and a pen (you can use a special fabric pen, or not) you need to mark 1.5cm at the top and bottom, and the outsides, and then 3cm between the strips, and divide that down the middle. |
 |
| Draw round them, making sure you have a 1.5cm seam allowance all the way around each piece. |
 |
| On any spare bits, cut strips - I just used the width of the ruler which is 4cm. |
 |
| You're going to need 8 strips, for the ties. It doesn't matter if they're exactly the same length, as long as they're the same width, and long enough to tie into a bow. |
 |
| so here's what you've got - two sides for each piece of card, and eight strips for ties. |
 |
| Secret Weapon. I do consider that this may in fact be more of an ironing project than a sewing project! So get your iron good and hot and have your spray to hand. |
 |
| Each of the pieces cut out to fit the card, needs a 1cm edge folding over and ironing down firmly. |
 |
| Just check that your card will fit in and there will be just a teeny bit left. |
 |
| Iron every single one like this. Yes, it's a lot of ironing. |
 |
| Keep organised and make sure you've got two fabric pieces for every card piece. |
 |
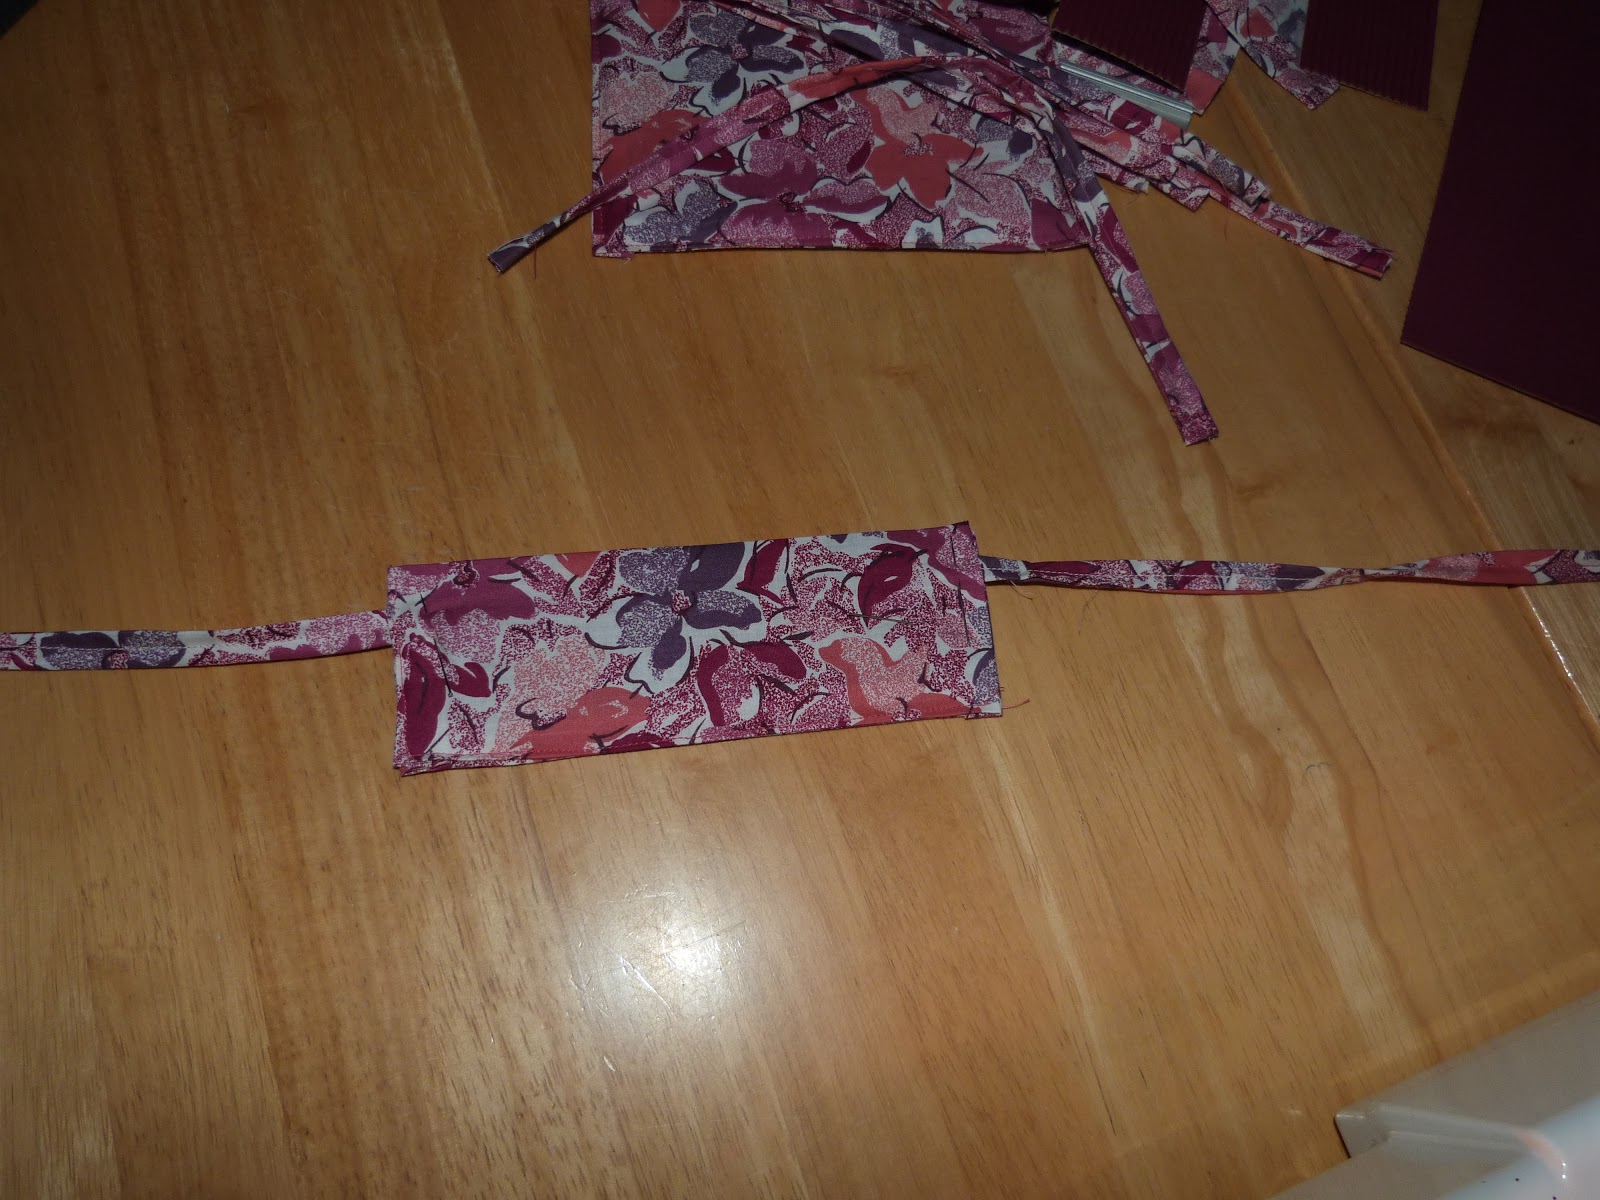
| Now the ties. Fold over at one end to neaten. |
 |
| Fold the sides in like this, and press. |
 |
| one end is still unfinished. |
 |
| You've also folded all those ties in half, down along that centre line, and pressed again. I forgot to photograph that part. Anyway, this is what you've got. YAY! THE IRONING IS FINISHED! |
 |
| So now on with the sewing. The ties first. Sew straight down the middle. You don't need to match up too closely - there's room for a little country charm around the ends! But what you do need to do is be neat with your sewing. Double sew the beginning and end of each seam and carefully cut the threads close. There are a lot of loose ends - the first one I made looked like it needed a haircut! |
 |
| Here they all are. Double stitch at each end and clip the threads. |
 |
| Now you're going to sew the basket itself. Place the card centrally on one fabric square. |
 |
| Match up the other one over the top |
 |
| I pinned the corners just to keep it straight. |
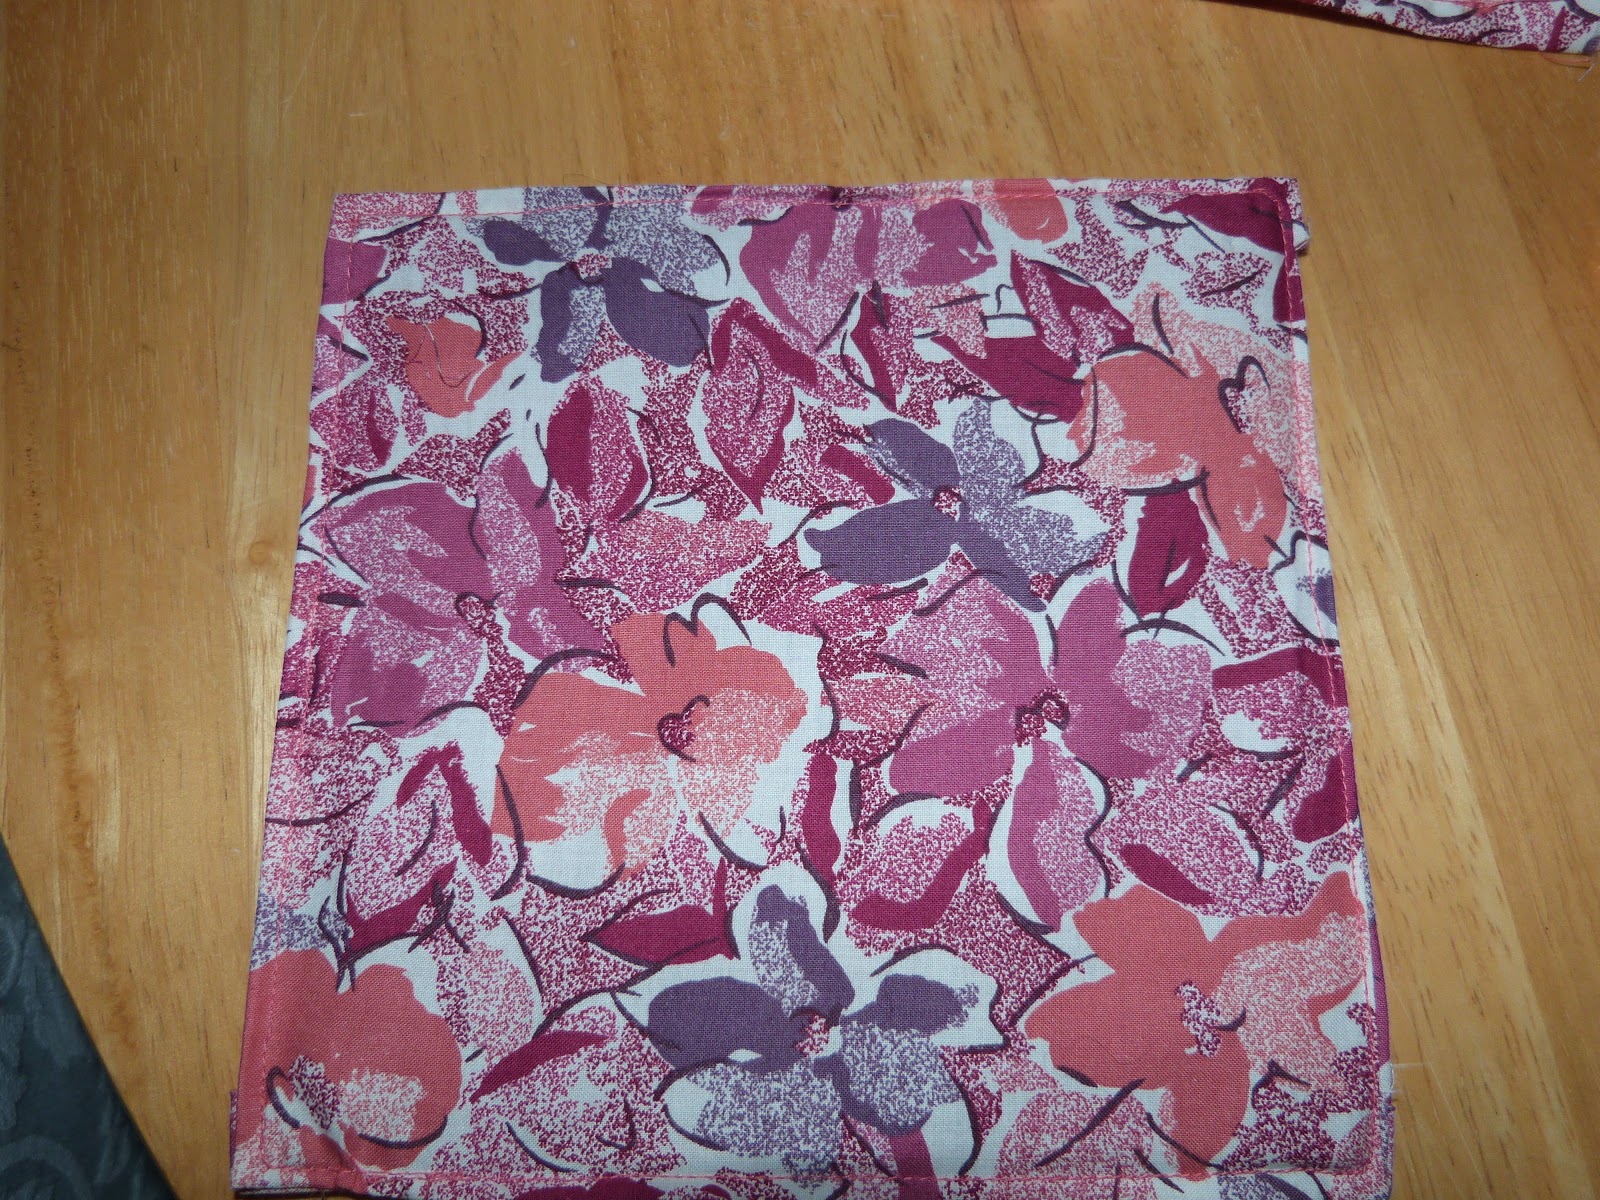 |
| Then sew neatly a scant couple of mm from the edge, keeping everything sandwiched neatly. You shouldn't need to sew through card. |
 |
| It's not the end of the world if you do catch the card, but you should be able to avoid it. |
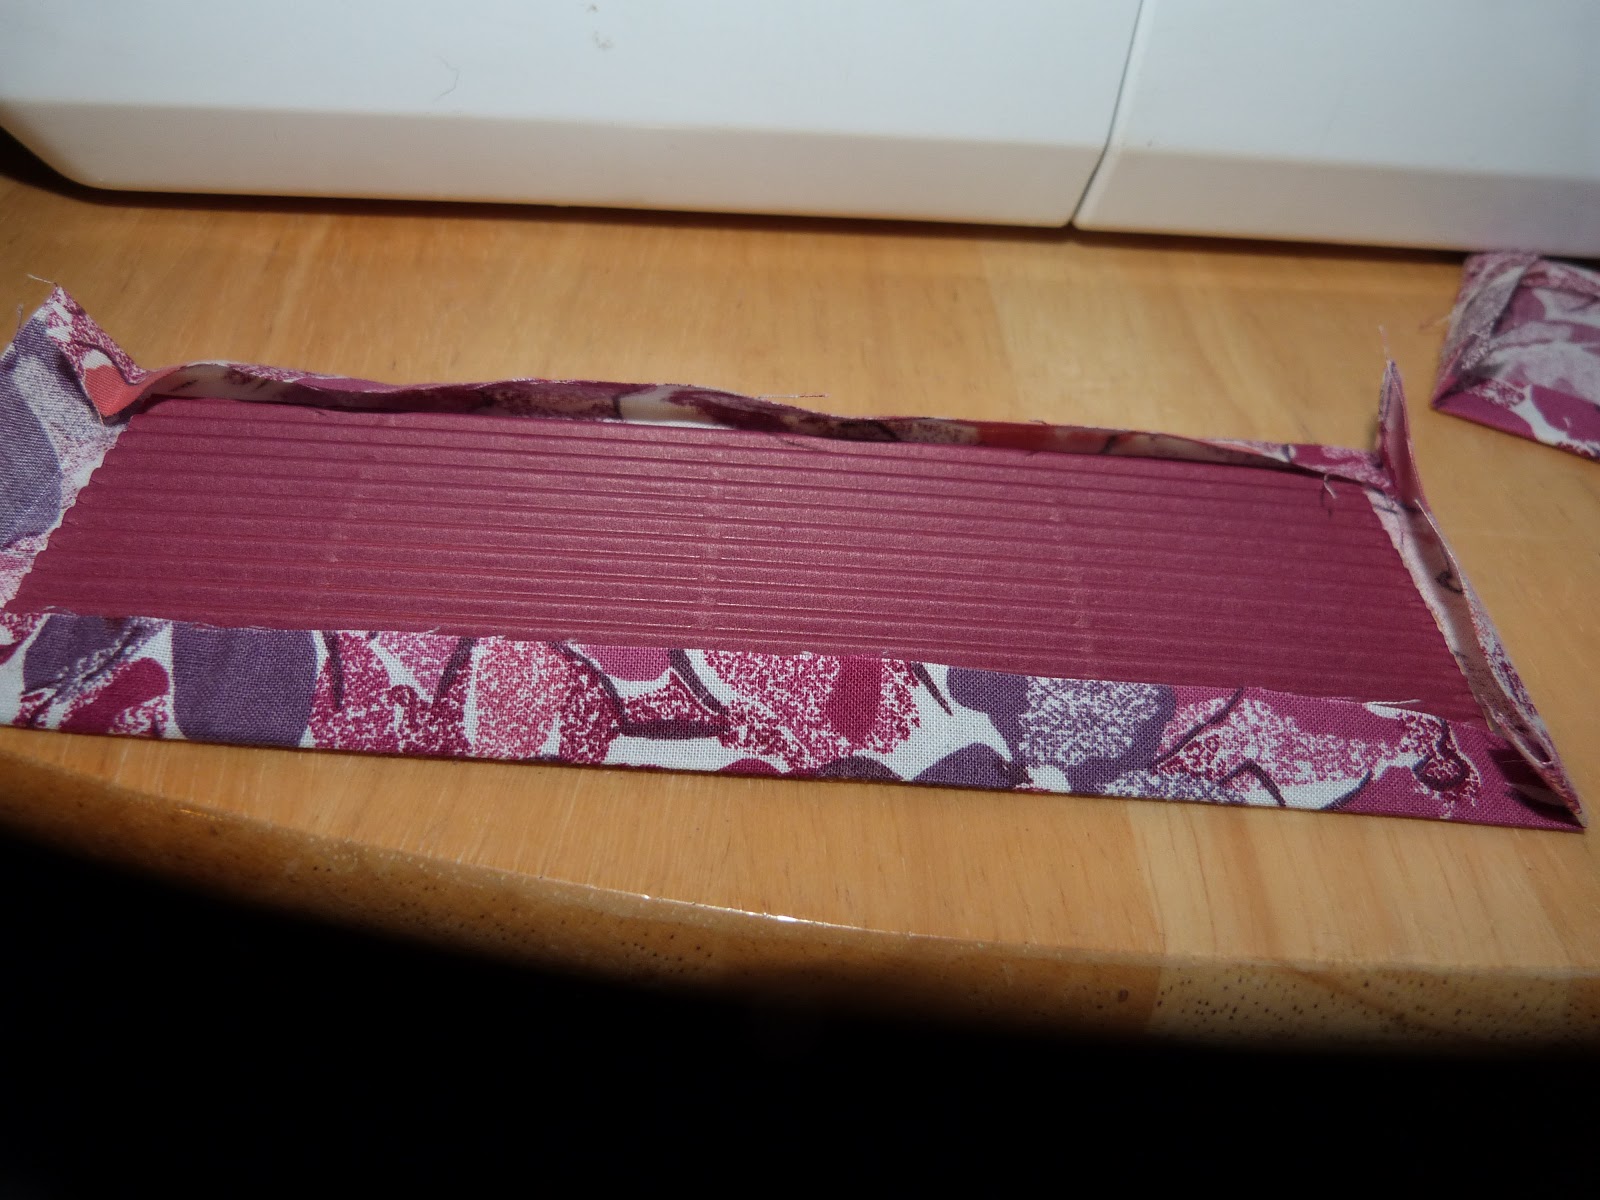 |
| Now you're going to do something similar with the sides |
 |
| Match them up. |
 |
| But on the sides, you're going to put a tie on each side, about one fourth way down. Put the unfinished ends inside the sandwich. |
 |
| I found it easiest to just pin like this. Then sew all around, just the same as the base. |
 |
| So you've got all these pieces, all sewn and ready to go! |
 |
| And you just need to put them all together. |
 |
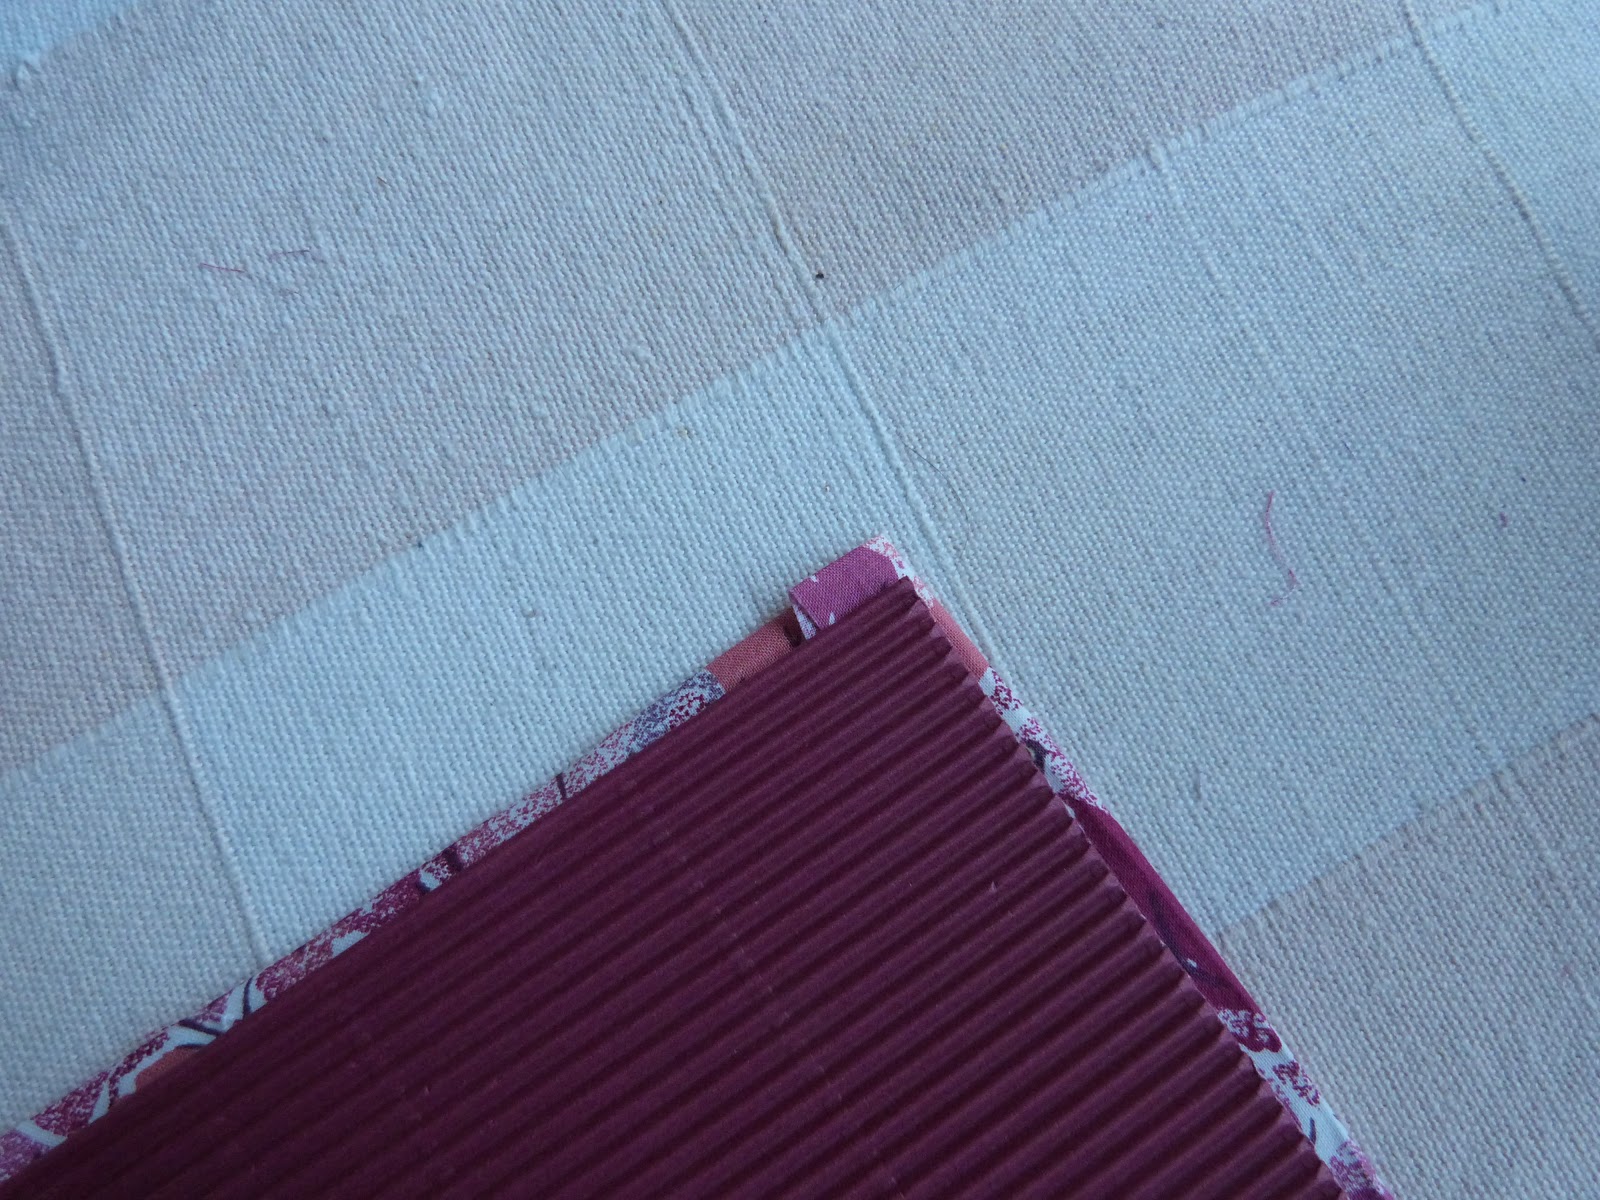
| Line up the edges of one side piece, and the base. Make sure the ties are placed like this. Sew along the top seam. Don't sew quite to the corners, leave a 0.5cm gap. |
 |
| Attach the second one, keeping the ties in the right place. Make sure your seams are all on the outside. |
 |
| Again, you should be able to miss the card entirely. I like my seams on the outside, they make a nice corner - but you can put them inside if you like. |
 |
| Number three. Remember to leave a small gap at the corners. |
 |
| Last one. |
 |
| Tie a cute little bow at each corner. |
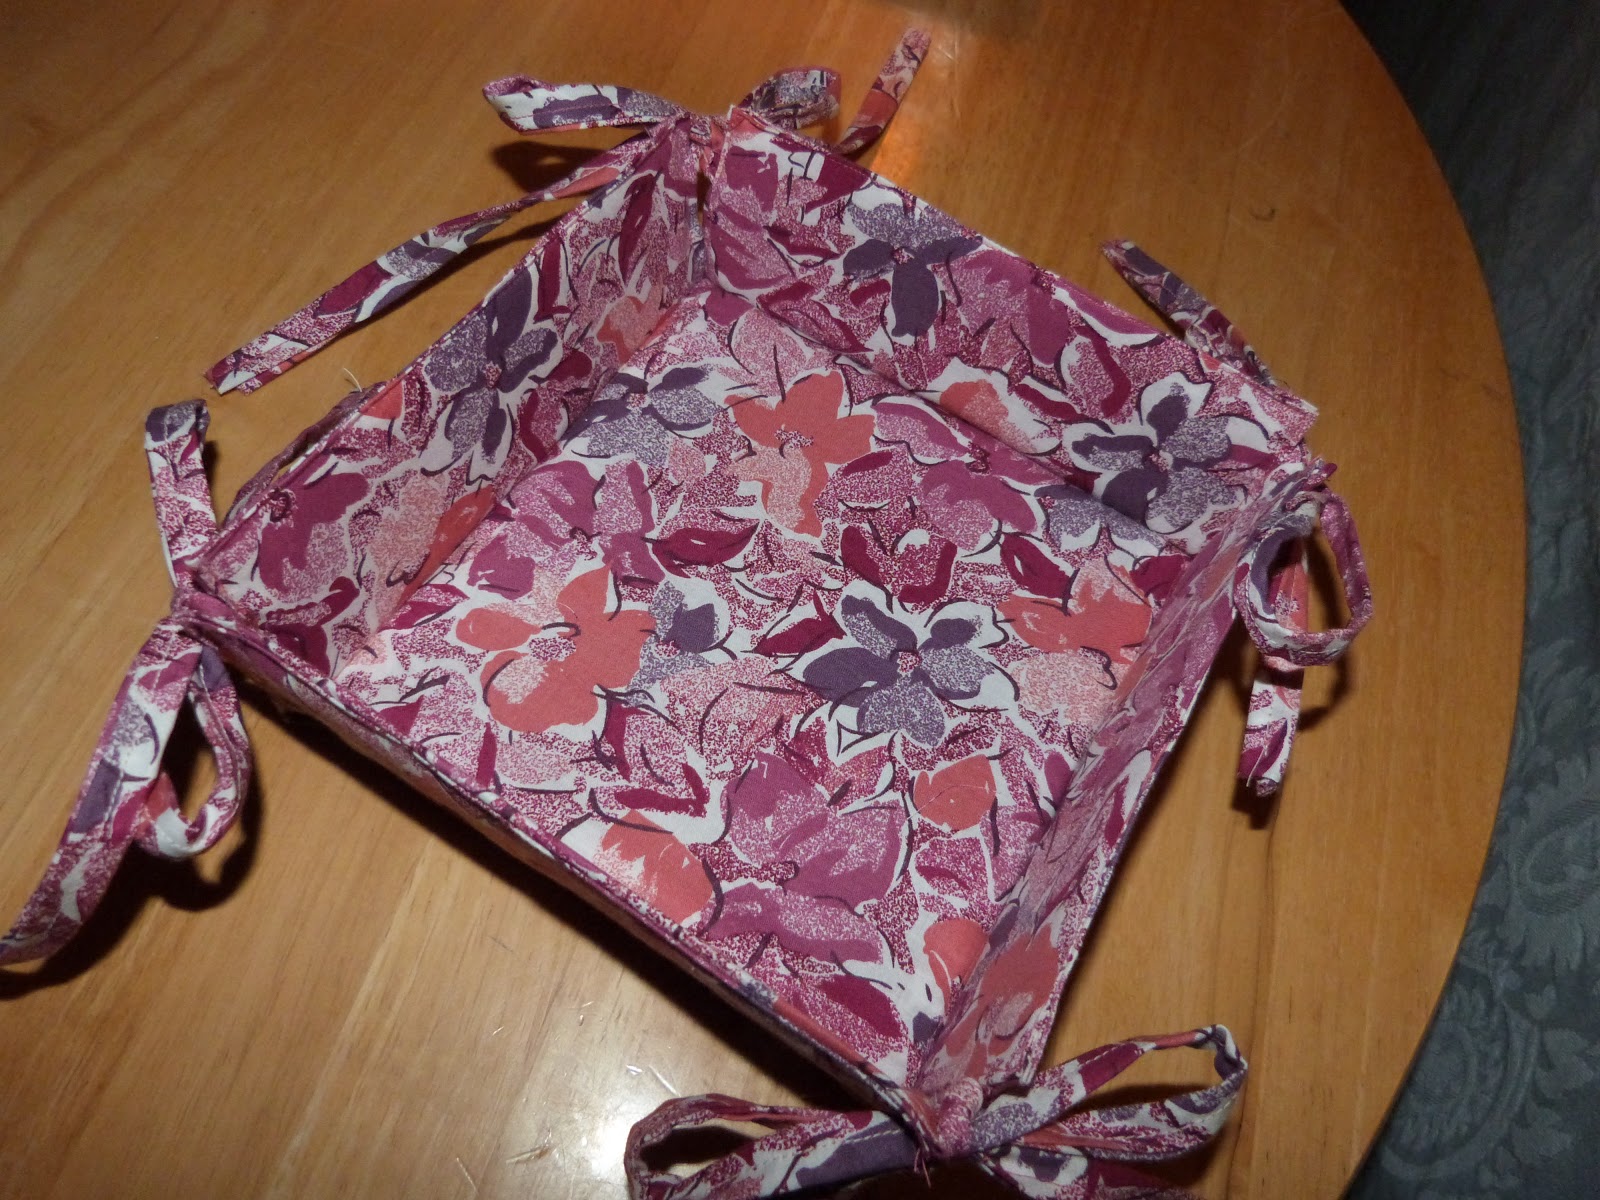 |
| And you're done. |


4 comments:
The basket is beautiful ! You are so creative ! Ali xxx
Love it! Too bad I stink at both ironing AND sewing. . . .
Just loved it did a great job explaining I..Now after holidays will have to try it..
Looks great ..Did a great job..
Post a Comment